Tamiya 1/35 75mm PAK 49/L46 A photo record of an incomplete project that became part of a different project... Not confusing at all...
Tamiya 1/35 75mm PAK 49/L46 A photo record
No story to this one, well maybe a little bit of info. A pictorial record of a model that never really got completed although it does guest in a different project... Guess I'd better do it again don't you think?
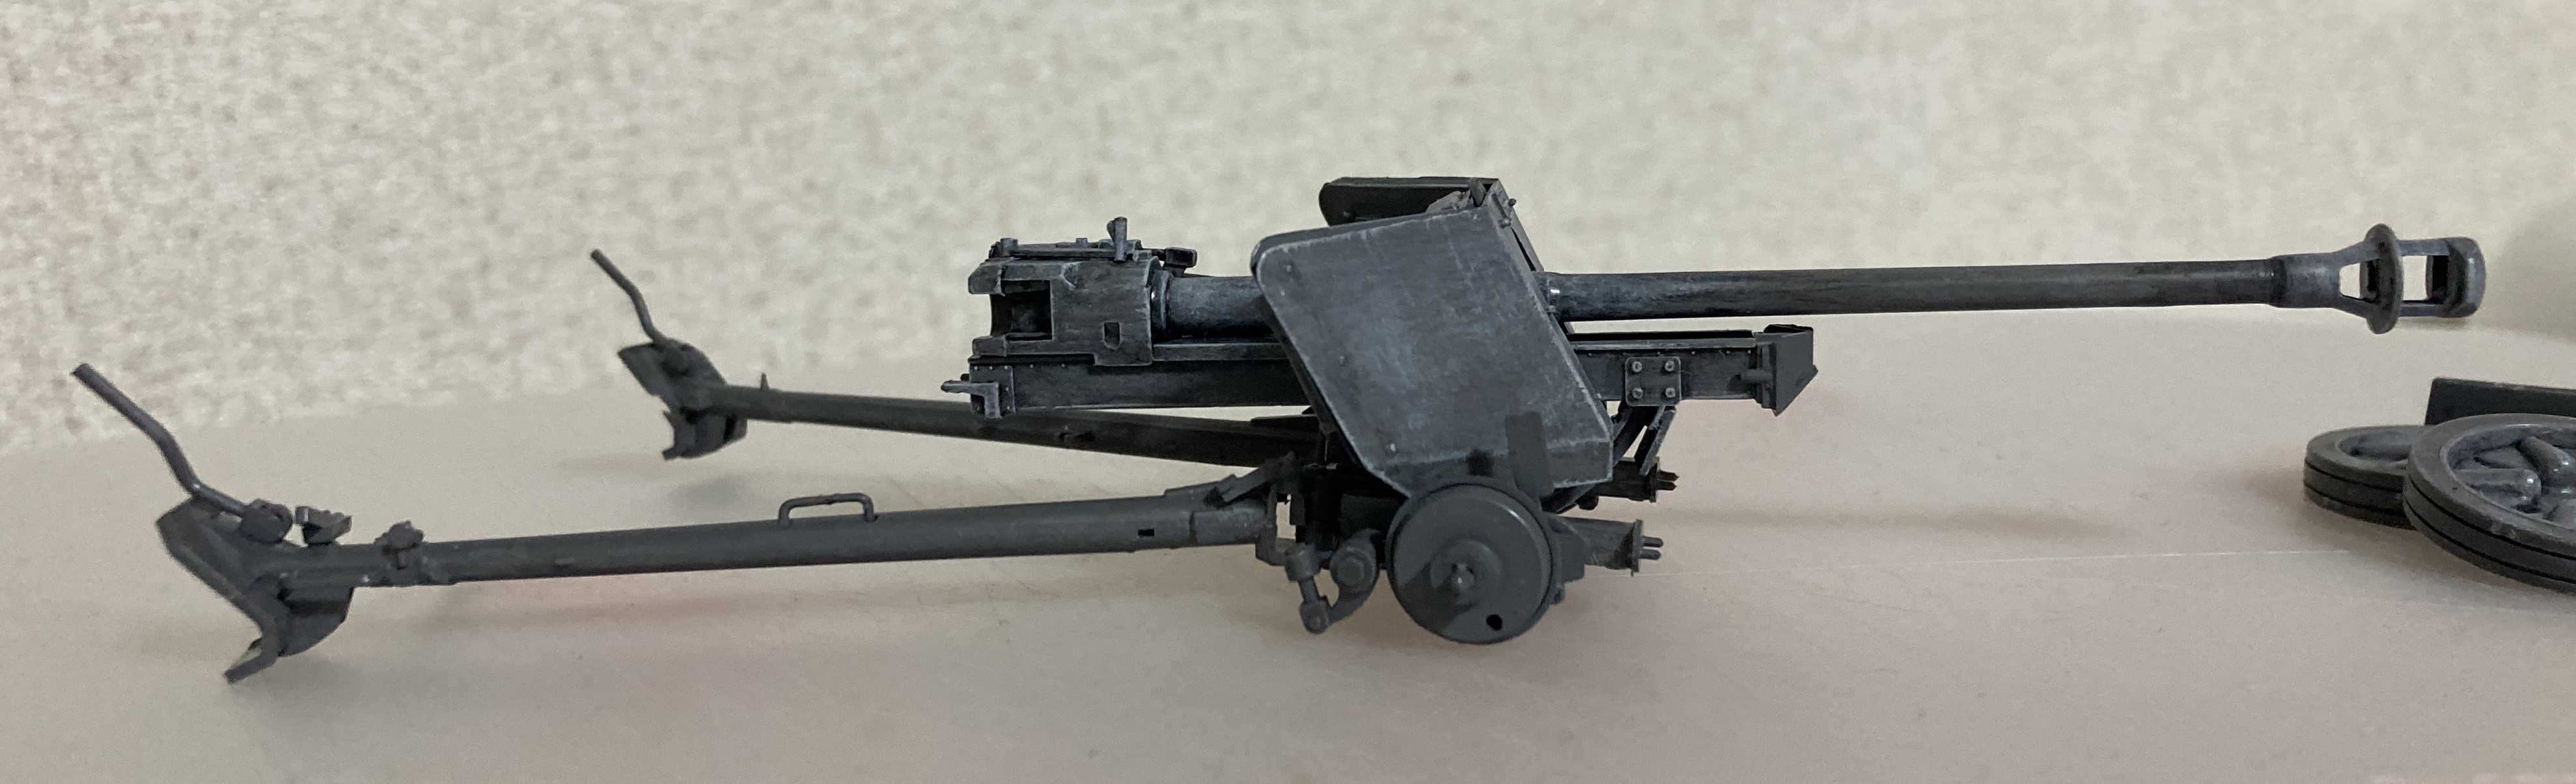
The gun was developed in 1939–1941 and
entered service in 1942. With 23,303 examples produced, the Pak 40 formed the
backbone of German anti-tank guns for the later part of World War II, mostly in
towed form, but also on a number of self propelled artillery such as the Marder
series of Panzerjäger.


The weapon was effective against almost
every Allied tank until the end of the war, only struggling to penetrate
heavier vehicles like the Russian IS tanks, the American M4A3E2 Sherman 'Jumbo'
assault tank and M26 Pershing, and later variants of the British Churchill
tank. The Pak 40 was much heavier than the Pak 38; its decreased mobility meant
that it was difficult or even impossible to move without an artillery tractor
on boggy ground.


- Caliber: 75 mm
- Barrel length: L/46
- Rifling: 32 grooves, right-hand increasing twist, 1/24 to 1/18.
- Length with the carriage: 6.2 metres (20 ft 4 in)
- Length: 3.70 metres (12 ft 1.7 in)
- Width: 2.0 metres (6 ft 7 in)
- Height: 1.25 metres (4 ft 1 in)
- Weight (combat ready): 1,425 kilograms (3,142 lb)
- Traverse: 65°
- Elevation: -5° to + 22°
- Rate of fire: 14 rounds per minute
- Engagement range: 1,800 metres (5,906 ft)
- Indirect range: 7,678 metres (25,190 ft) (HE shell)
- Projectile weight: 3.18 to 6.8 kg (7 lb 0.2 oz to 14 lb 15.9 oz)


 No, not that kind of barrel...


Adding some warm shades.


.jpg) The Horch 4 X 4 Type 1a.
The Horch 4 X 4 Type 1a.


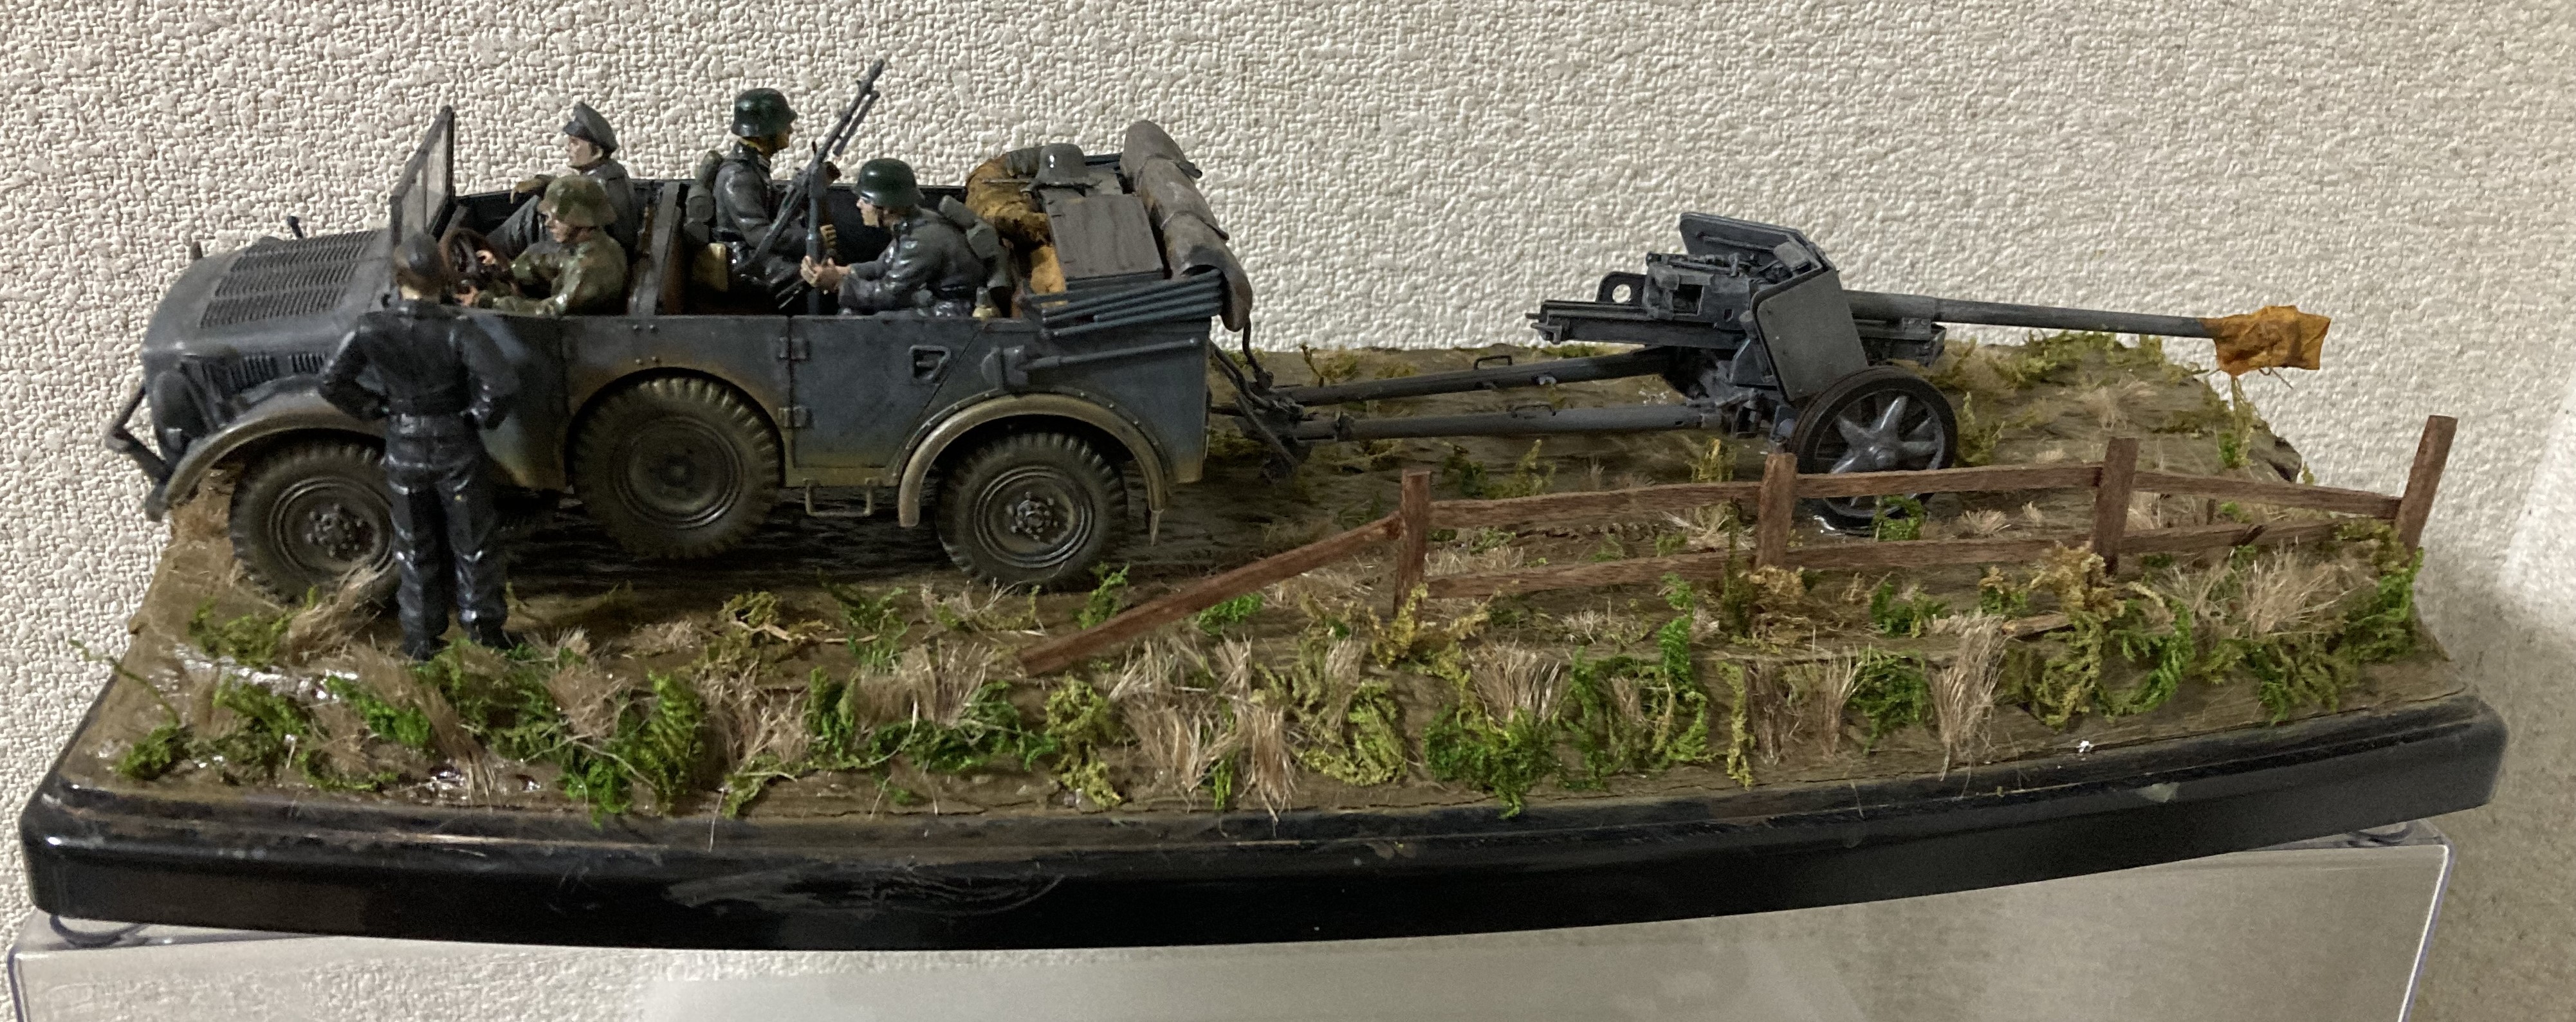

 The Horch 4 X 4 Type 1a.


Comments
Post a Comment