Tamiya. Matilda MkIII 1/48 Caunter scheme.
The Matilda MKIII. What's in the box?
Matilda MKIII Caunter Scheme build. That's the odd one with the blue.
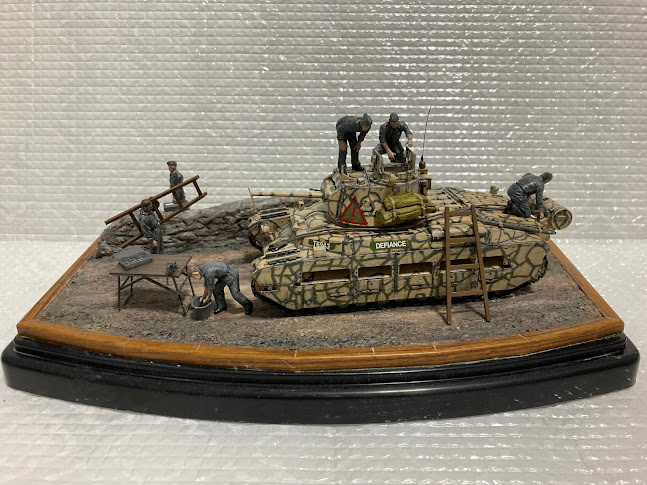
Matilda MK III 'Malta alternative history.' Making the model.
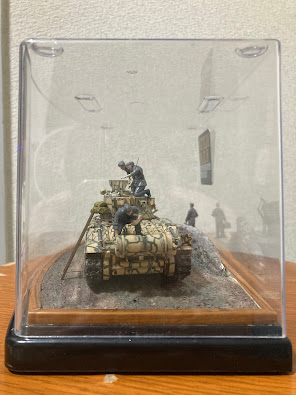
Matilda alternative history. A display on a shoestring.
View the You Tube video.
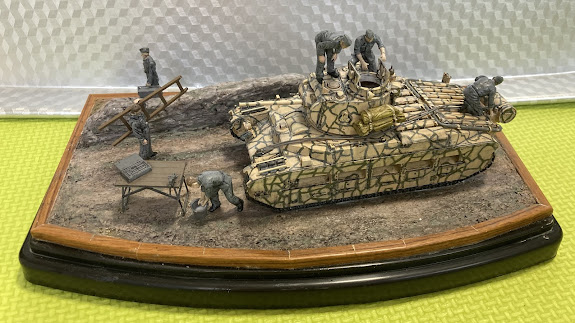
I did an alternative history group build on a budget. Let's look at the how and why.
Display case. Ingredients. Prices in yen. Small change (less than 30 yen) not included.
German loading crew 900
Display case. 300.
Wood look plastic edging. 100
Cement 1/3 bag. approx. 100 (Super glue to fix.)
Tea leaves. Recycled.
Wall. Soft floor tile. Recycled.
Plaster skim for wall. 'Paper clay' 150g approx 30
Water based paint black, white, brown green.
PVA glue.
Approximate total 1,450 yen including the figures. about eight pounds $9.50 at time of writing.
 A Matilda MK III because I can.
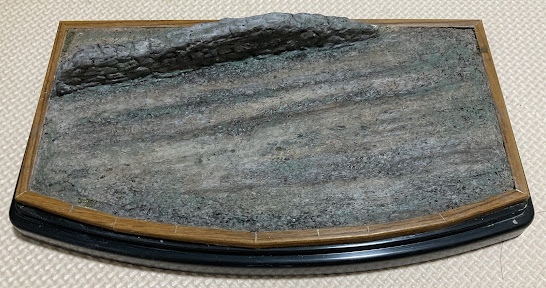
For the display, I am using a cheap Japanese display rom the local 1oo yen (56P)/(68c) shop. I've added some wood look plastic edging to hold the cement fill. It will be a stiff cement mix with added tea leaves that I use for that.
I'll face the wall with the cheap 'paper clay' which should take an impressed texture.
That will do nicely for the first effort.
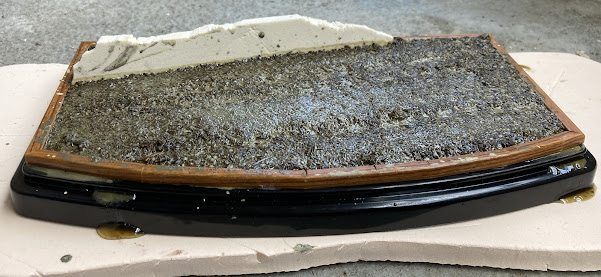

Just added some wall texture with a clay tool in the paper clay skim. I also skimmed the surface to get a predominantly dried mud surface.
Tamiya. Matilda MkIII 1/48 Caunter scheme.
The Matilda MKIII. What's in the box?
Matilda MKIII Caunter Scheme build. That's the odd one with the blue.
Matilda MK III 'Malta alternative history.' Making the model.
Matilda alternative history. A display on a shoestring.
View the You Tube video.










Comments
Post a Comment