Tamiya. Matilda MkIII 1/48 Caunter scheme.
The Matilda MKIII. What's in the box?
Matilda MKIII Caunter Scheme build. That's the odd one with the blue.
Tamiya. Matilda MkIII 1/48 Malta scheme.
Matilda MK III 'Malta alternative history.' Making the model.
Matilda alternative history. A display on a shoestring.
View the You Tube video.
Matilda MK III 'Malta alternative history.' Making the model.
Matilda alternative history. A display on a shoestring.
View the You Tube video.
Here we go.
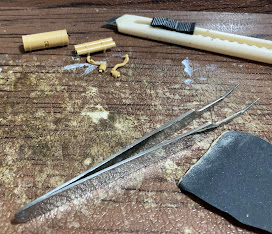
First we need to remove the parts from the sprue. Many of them will need seam lines removing them with the craft knife and polishing with emery cloth.
I like pre-painting the parts where possible because quite often, hand painting some parts is difficult when construction is under way.
The addition of the weight to the model gives the model a sense of mass. It might not really be necessary but I like the feel it gives.
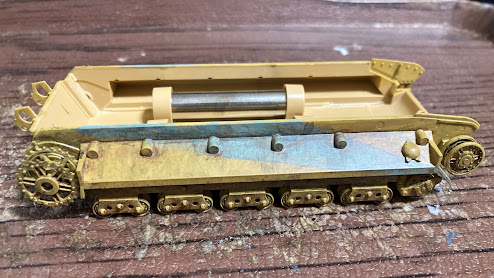
Constructing the tracks.
All done.
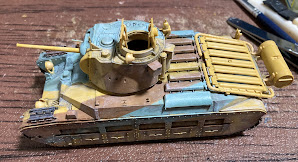
Building the hull.
The Matilda had a conventional layout, with the driver's compartment located at the front of the tank's hull, the fighting compartment with the turret in the centre and the engine and transmission housed in the rear.
The driver's position was normally accessed by a single hatch in the roof of the hull, and protected by a rotating armoured cover which could be held locked in either fully open or closed positions.
Emergency egress was made possible by a large escape hatch under the driver's seating position. The driver also had a direct vision viewing port with manually operated armoured shield and a single Mk IV periscope to use when buttoned up.
Like many other British infantry tanks, it was heavily armoured. The front glacis was up to 78 mm (3.1 in) thick; the nose plates top and bottom were thinner but angled. The sides of the hull were 65 to 70 millimetres (2.6 to 2.8 in) and the rear armour, protecting the engine to sides and rear, was 55 millimetres (2.2 in).

The cast, cylindrical three-man turret was seated on ball-bearing ring mount and its armour was 75 mm (2.95 in) all round. The turret roof, hull roof and engine deck were 20 millimetres (0.79 in).
The turret was laid out such that the gunner and commander were seated in a laddered arrangement on the left side of the gun, and the loader on the right. The commander was given a rotating cupola with a two-piece hatch and a single panoramic Mk IV periscope installed in the forward-facing hatch door. The same device was also mounted in a fixed position in the turret roof, forward of the commander's cupola, and giving the gunner some situational awareness and target finding capabilities. The loader used a single, rectangular hatch in the turret's roof on the right side. The turret was equipped with a basket around which much of the ammunition stowage was contained. The turret had a power traverse system used under normal conditions, and a manually-operated mechanical emergency assist.
So far so good.
Adding the fuel tank. Cleaning up the seam lines with the knife and some emery cloth.
Lights and exhausts.
Happy so far...
Photo shoot.
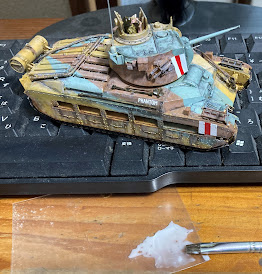
Damaging the decals with a knife... and we are done.
... and we are done.
I'll finish this with a little display.
A medium sized display case from the local discount store.
A piece of suitably painted sponge floor tile and an application of grass and rough green tea.
Tamiya. Matilda MkIII 1/48 Caunter scheme.
The Matilda MKIII. What's in the box?
Matilda MKIII Caunter Scheme build. That's the odd one with the blue.
Tamiya. Matilda MkIII 1/48 Malta scheme.
Matilda MK III 'Malta alternative history.' Making the model.
Matilda alternative history. A display on a shoestring.
View the You Tube video.
Matilda MK III 'Malta alternative history.' Making the model.
Matilda alternative history. A display on a shoestring.
View the You Tube video.


Comments
Post a Comment