Panzer Kampfwagen II Ausf. F/G.
The first seven Panzer II Ausf.F light tanks were completed in March 1941. Production stopped at the end of July 1942. A total of 1,004 received chassis numbers and entered service.
They were used mainly on the Eastern Front as a reconnaissance tank but some Panzer II Ausf.F light tanks were sent to Libya as replacements.
I'm going to build just the one.


Yes, these are definitely pictures of my model...


Yes, these are definitely pictures of my model...
 Insert funny caption here.
We'll start with the hull otherwise the wheels will fall off.
The hull.
The hull of the Panzer II Ausf. F/G was constructed using welded steel plates. It had a compact design with sloping armor to enhance its defensive capabilities. The hull housed the engine, transmission, and the crew compartment. The tank had a crew of three, including the driver, commander, and gunner.
The hull of the Panzer II Ausf. F/G was constructed using welded steel plates. It had a compact design with sloping armor to enhance its defensive capabilities. The hull housed the engine, transmission, and the crew compartment. The tank had a crew of three, including the driver, commander, and gunner.

The baby Tiger's tail.


Leaving a tag of plastic to clean off as usual. Remakable quality considering the age. Virtually no flash just panel lines.
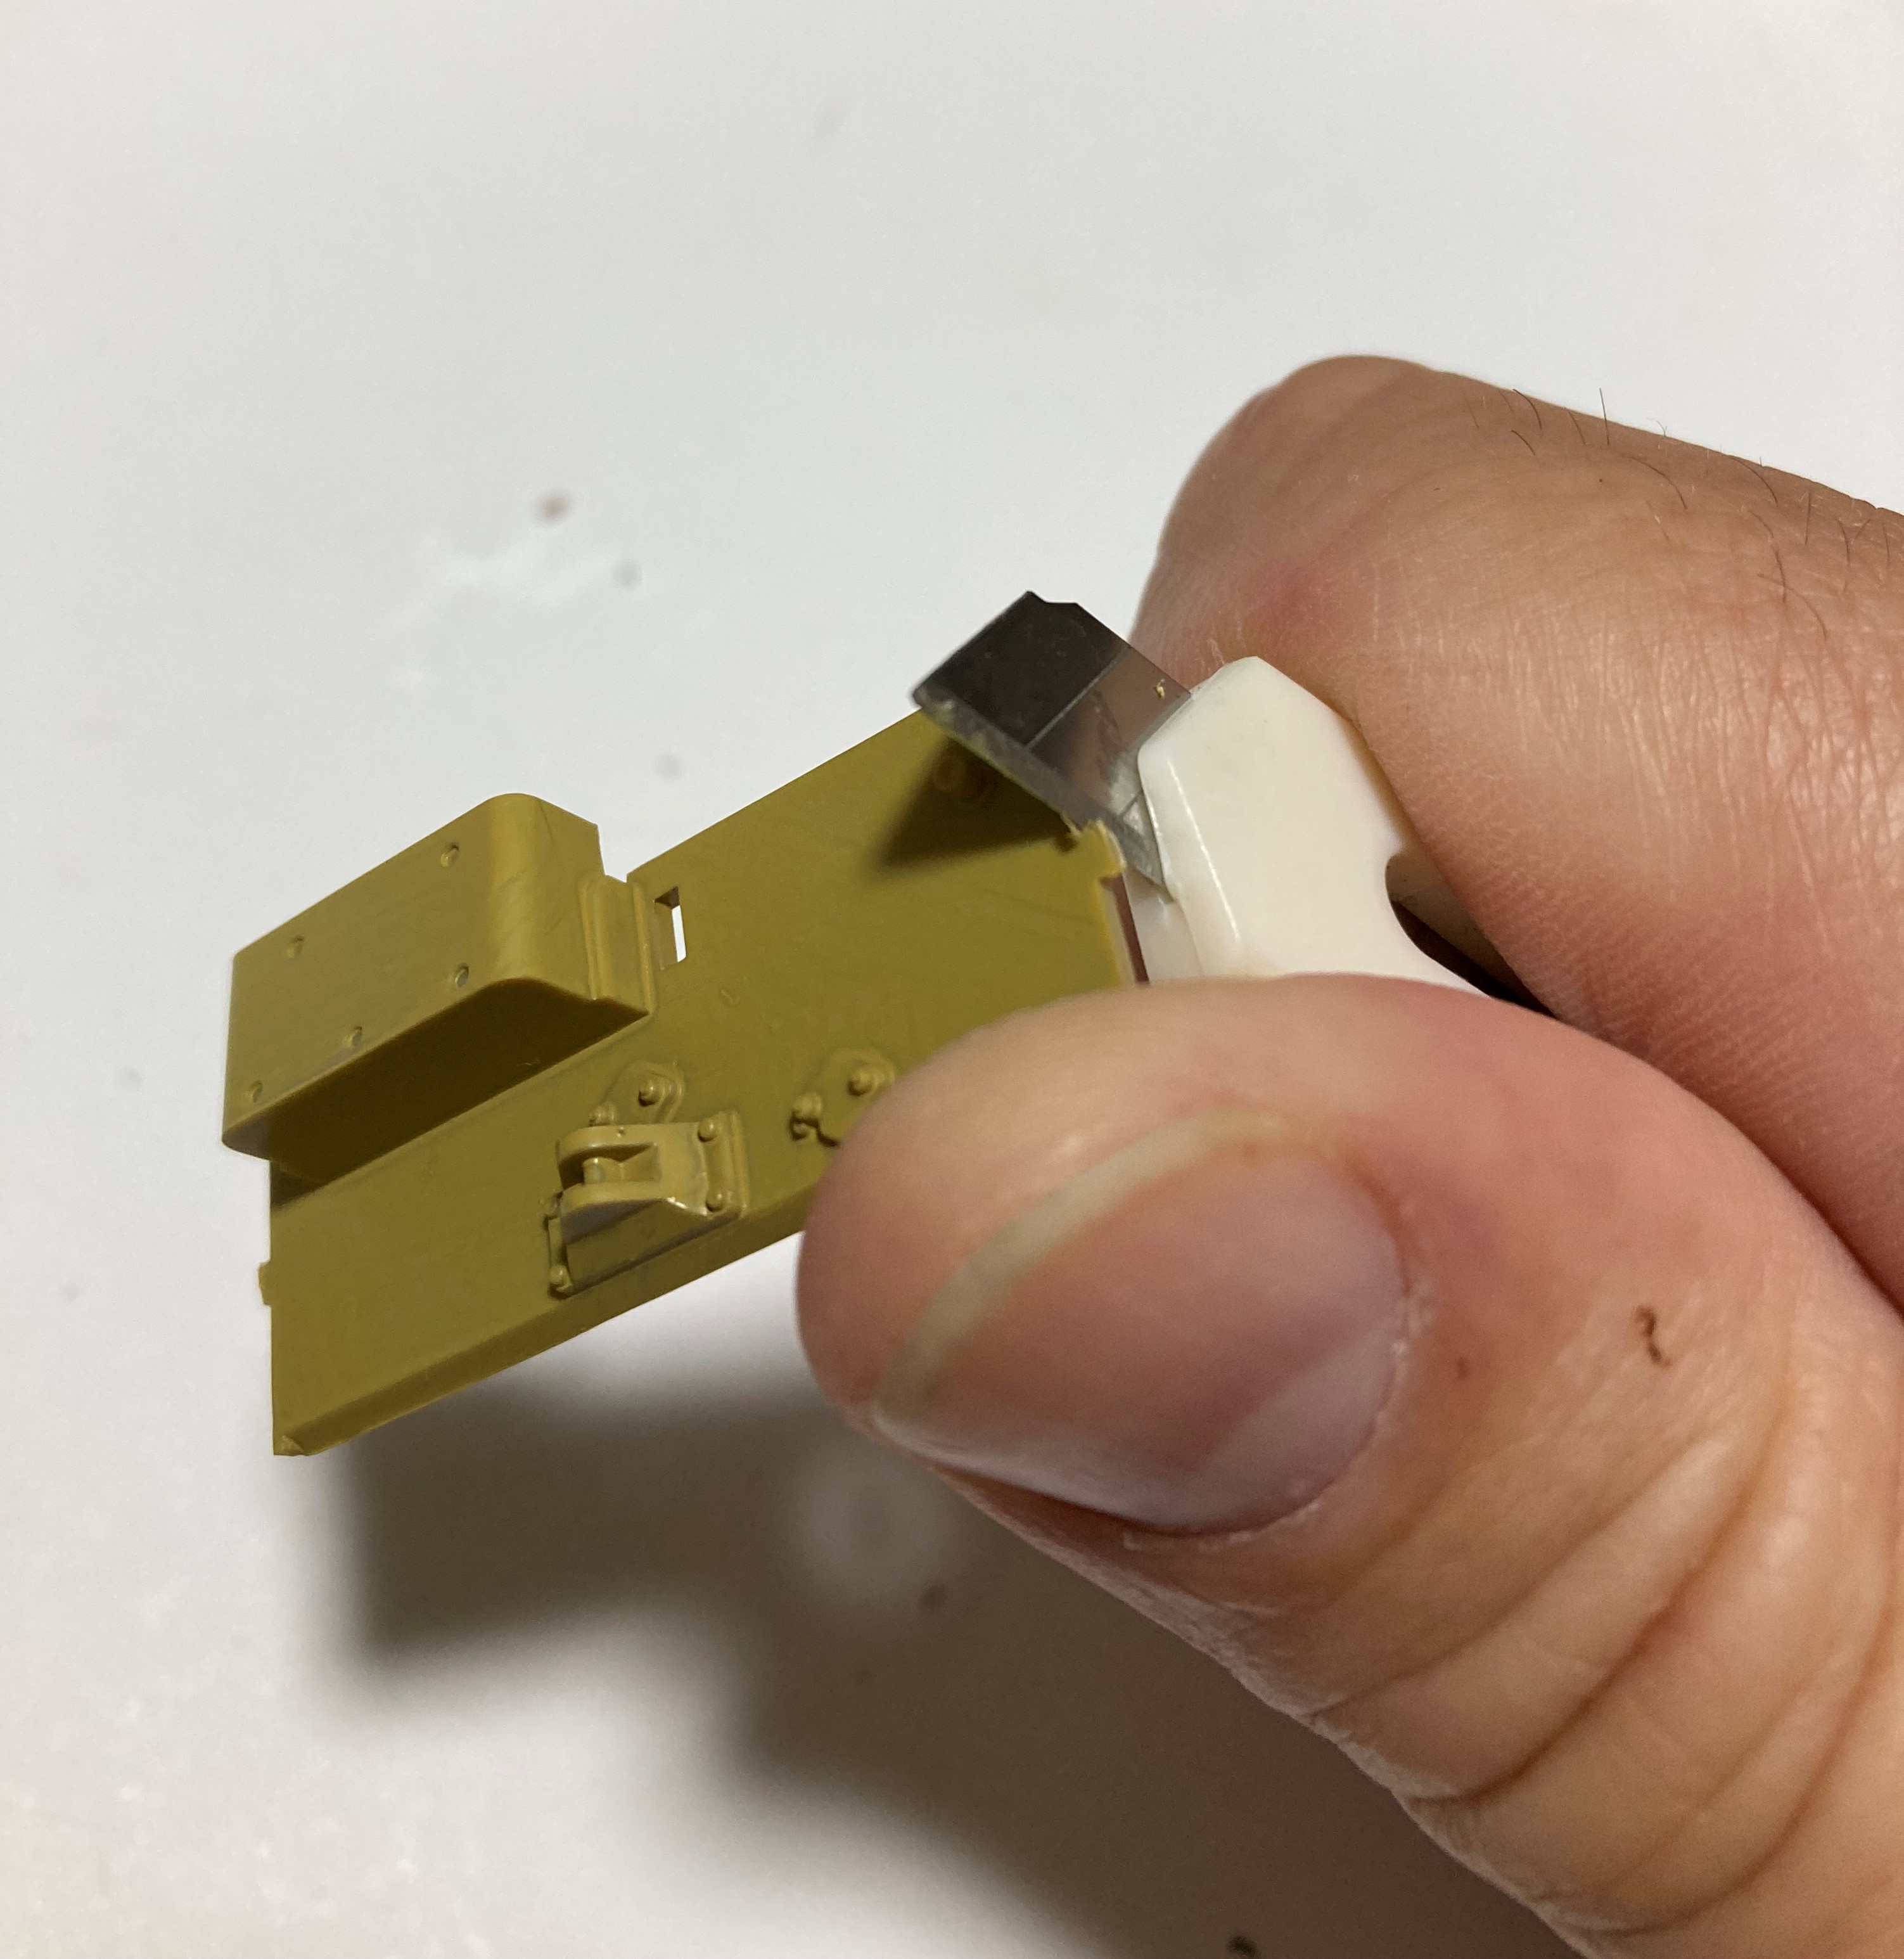

I like this Mr Hobby fine cement. I remember the old tubes,
they were a different er... experience...
 Just hold for a few seconds.
Putting the exhausty thing together.


A bit of a seam but a scrape with the knife and a polish with emery cloth and everything is ticketty...
Armor Protection.The Panzer II Ausf. F/G featured improved armor protection compared to its predecessors. The frontal armor of the hull had a maximum thickness of 35mm, while the sides and rear had a thickness of 15mm. The armor was sloped at various angles, which helped to increase its effective thickness against incoming projectiles. Although the armor was relatively thin, it provided protection against small-caliber projectiles and shrapnel.


As I'm not spraying, I want to get some colour behind the wheels before I put them on.
 Black shading...
 And soften with brown shades...
That'll do for now. 


Just checking the positioning, I'll paint the tires before putting the wheels on.
 And as if by magic...
 Wheely done now.
Turret time.
Putting on the upper hull and the turret.
Putting on the upper hull and the turret.


 First shading.
The Panzer II Ausf.F was built with the thicker 30 mm armour on the front of the tank hull and 30 mm armour of the front of the turret. It was not added on later as in previous earlier models. The Commander had a cupola with a periscope on the top of the turret rather than a split hatch. The side vision ports had vertical bullet splash guards in front of them and had two conical bolts above and below the visor to hold in place the 50 mm bulletproof glass behind it. The turret ring was protected from bullet and shrapnel damage by a triangular shaped guard welded to the top of the superstructure at the front and back.
 Again, black followed by brown.

Toning down the colours with some more yellow and putting the balance of the parts on.


Vision slots so we can see, and let's have a gun too.


Let's have a look around before I finish everything off.


Finishing touches, aerial and painting the tracks...


What do you think of that?
I think this is one of the best beginners kits out there. Bit of a challenge but not a difficult kit. Some figures to have a go at. Pretty much perfect.
I think this is one of the best beginners kits out there. Bit of a challenge but not a difficult kit. Some figures to have a go at. Pretty much perfect.
Comments
Post a Comment