Tamiya 1/35 T34/76 Just another group build.

Tamiya 1/35 T34/76 Just another group build. 
Looking back at the T-34/76, part of my Herbert Erperderp group build.

Germans reusing captured T-34s... so there.
Ok, let's build stuff... First up, a coat of green paint...

Putting the  wheels together.
I'll weather behind the wheels before I put them on.

There's a screw for tightening the tracks using the rear wheel..

Plastic archiology.
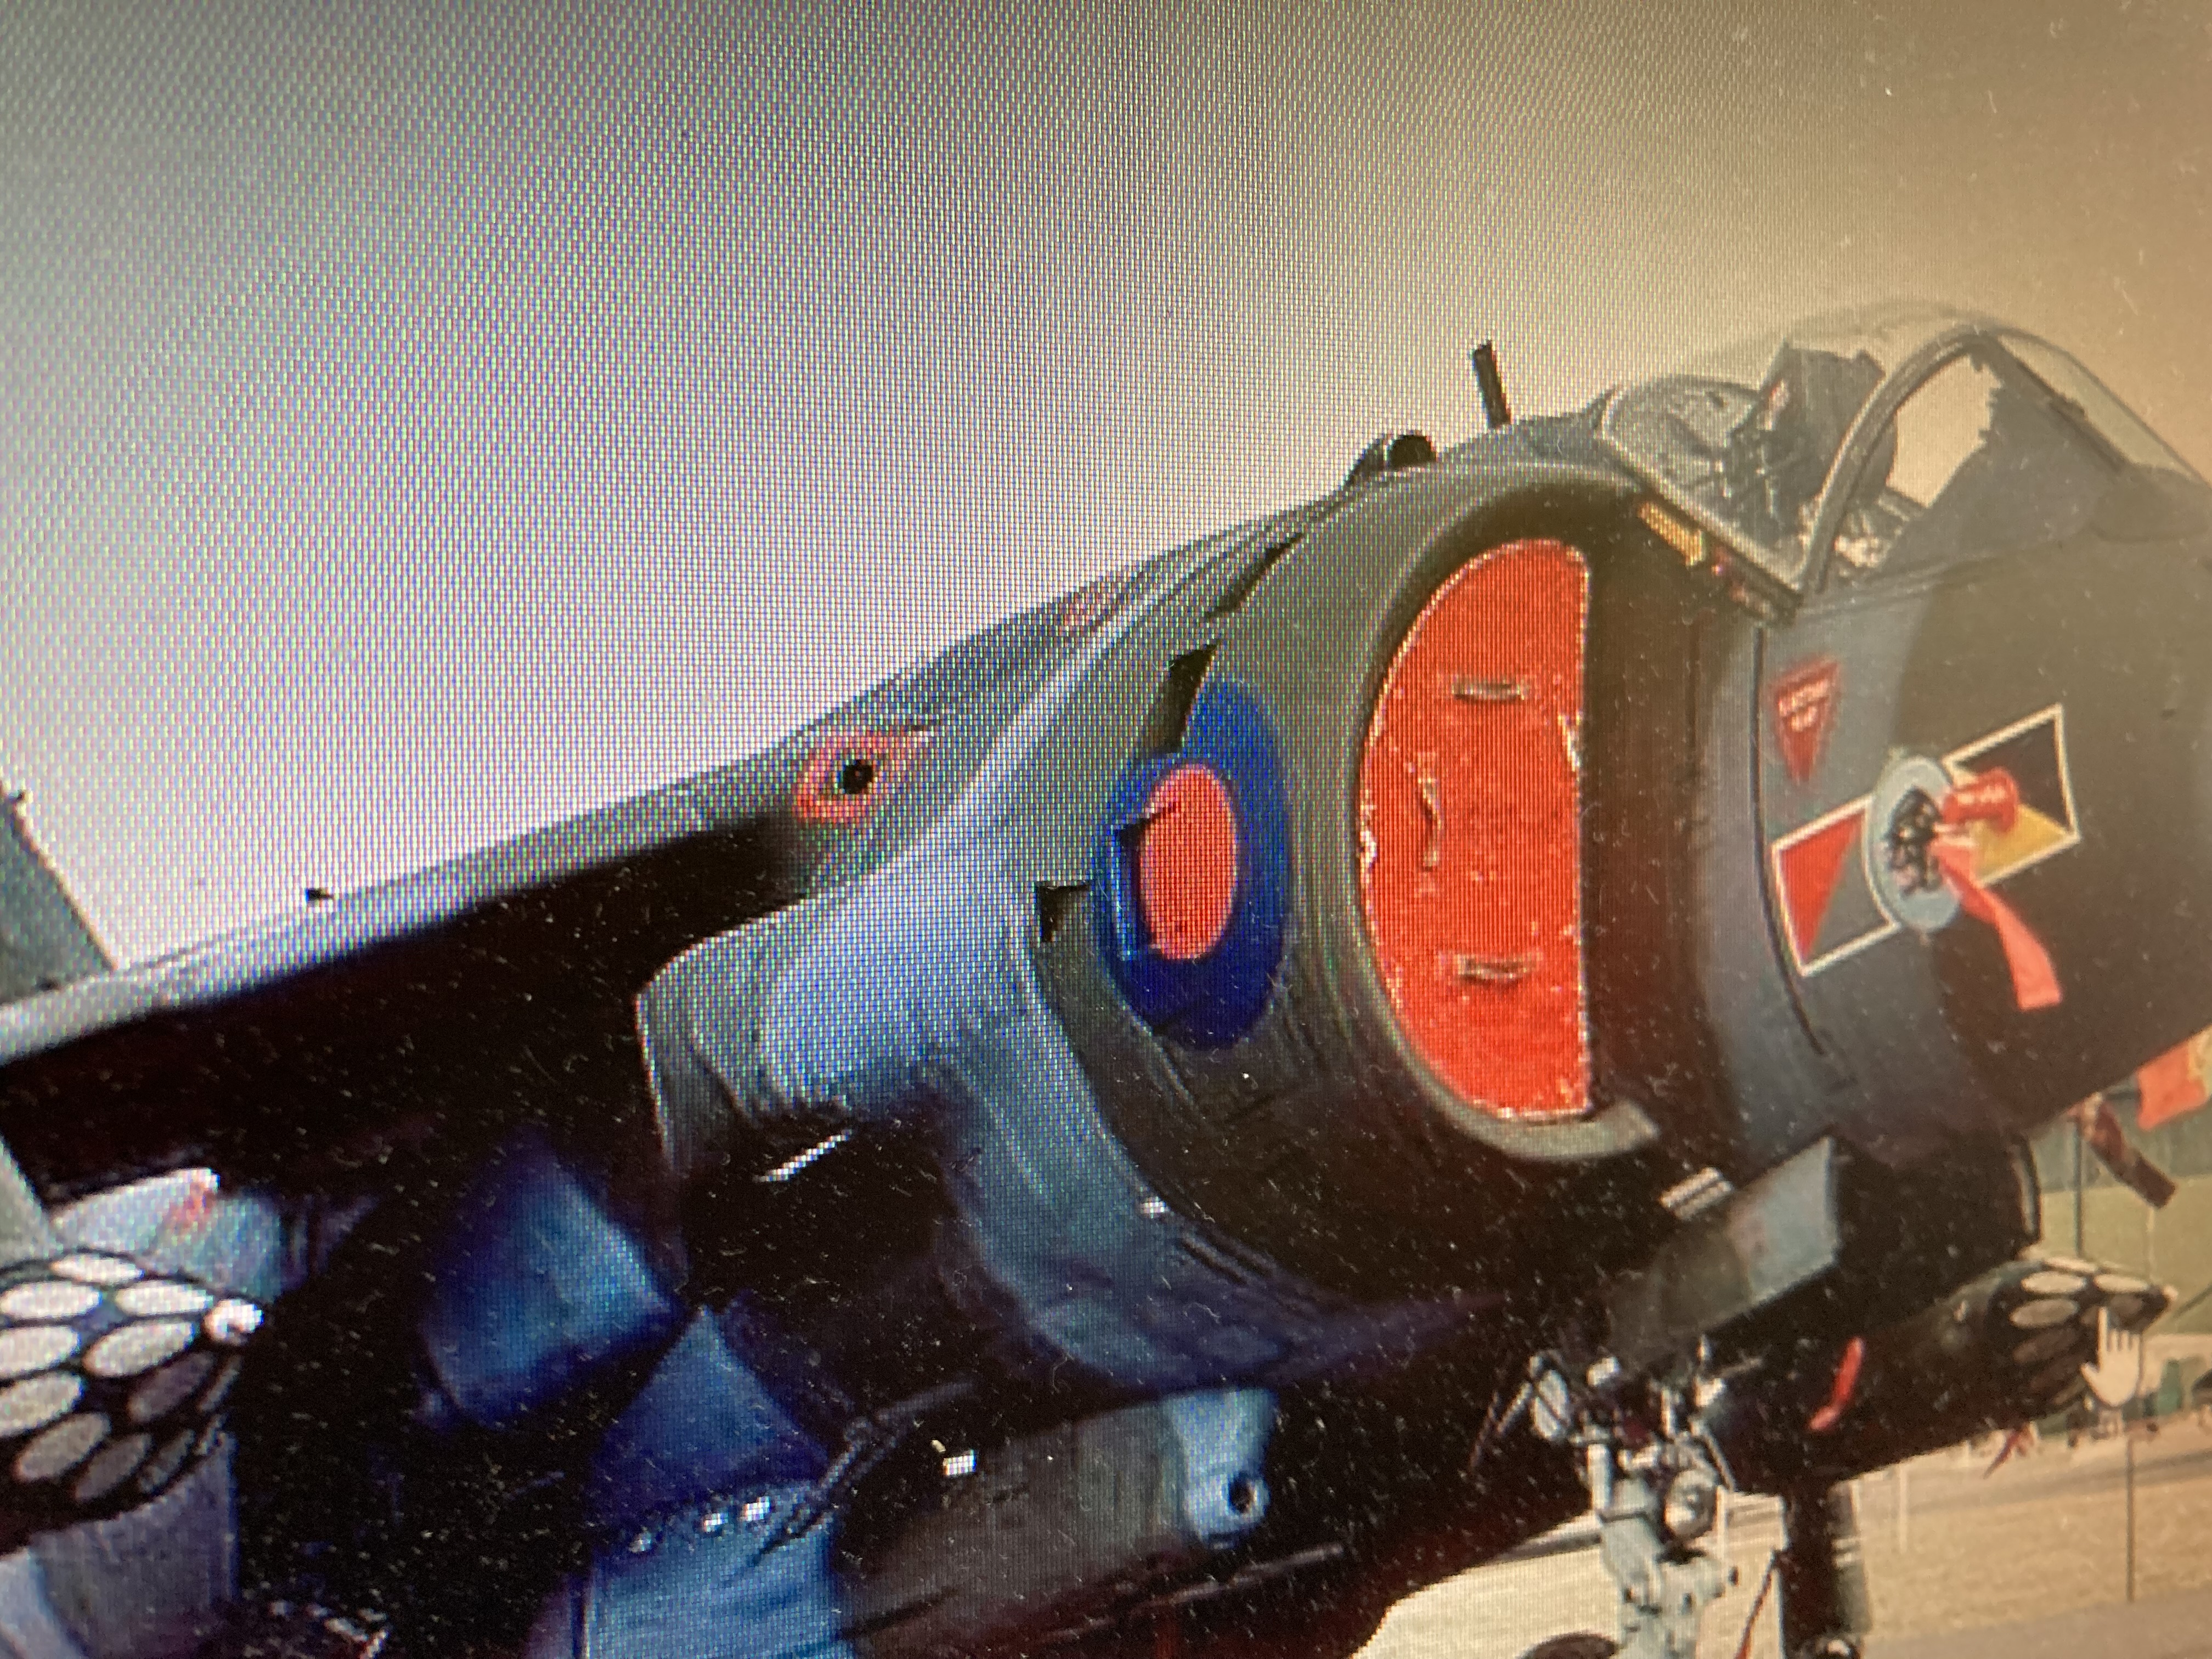
Notice the battery directions icon. Relics from the  original motorised option.


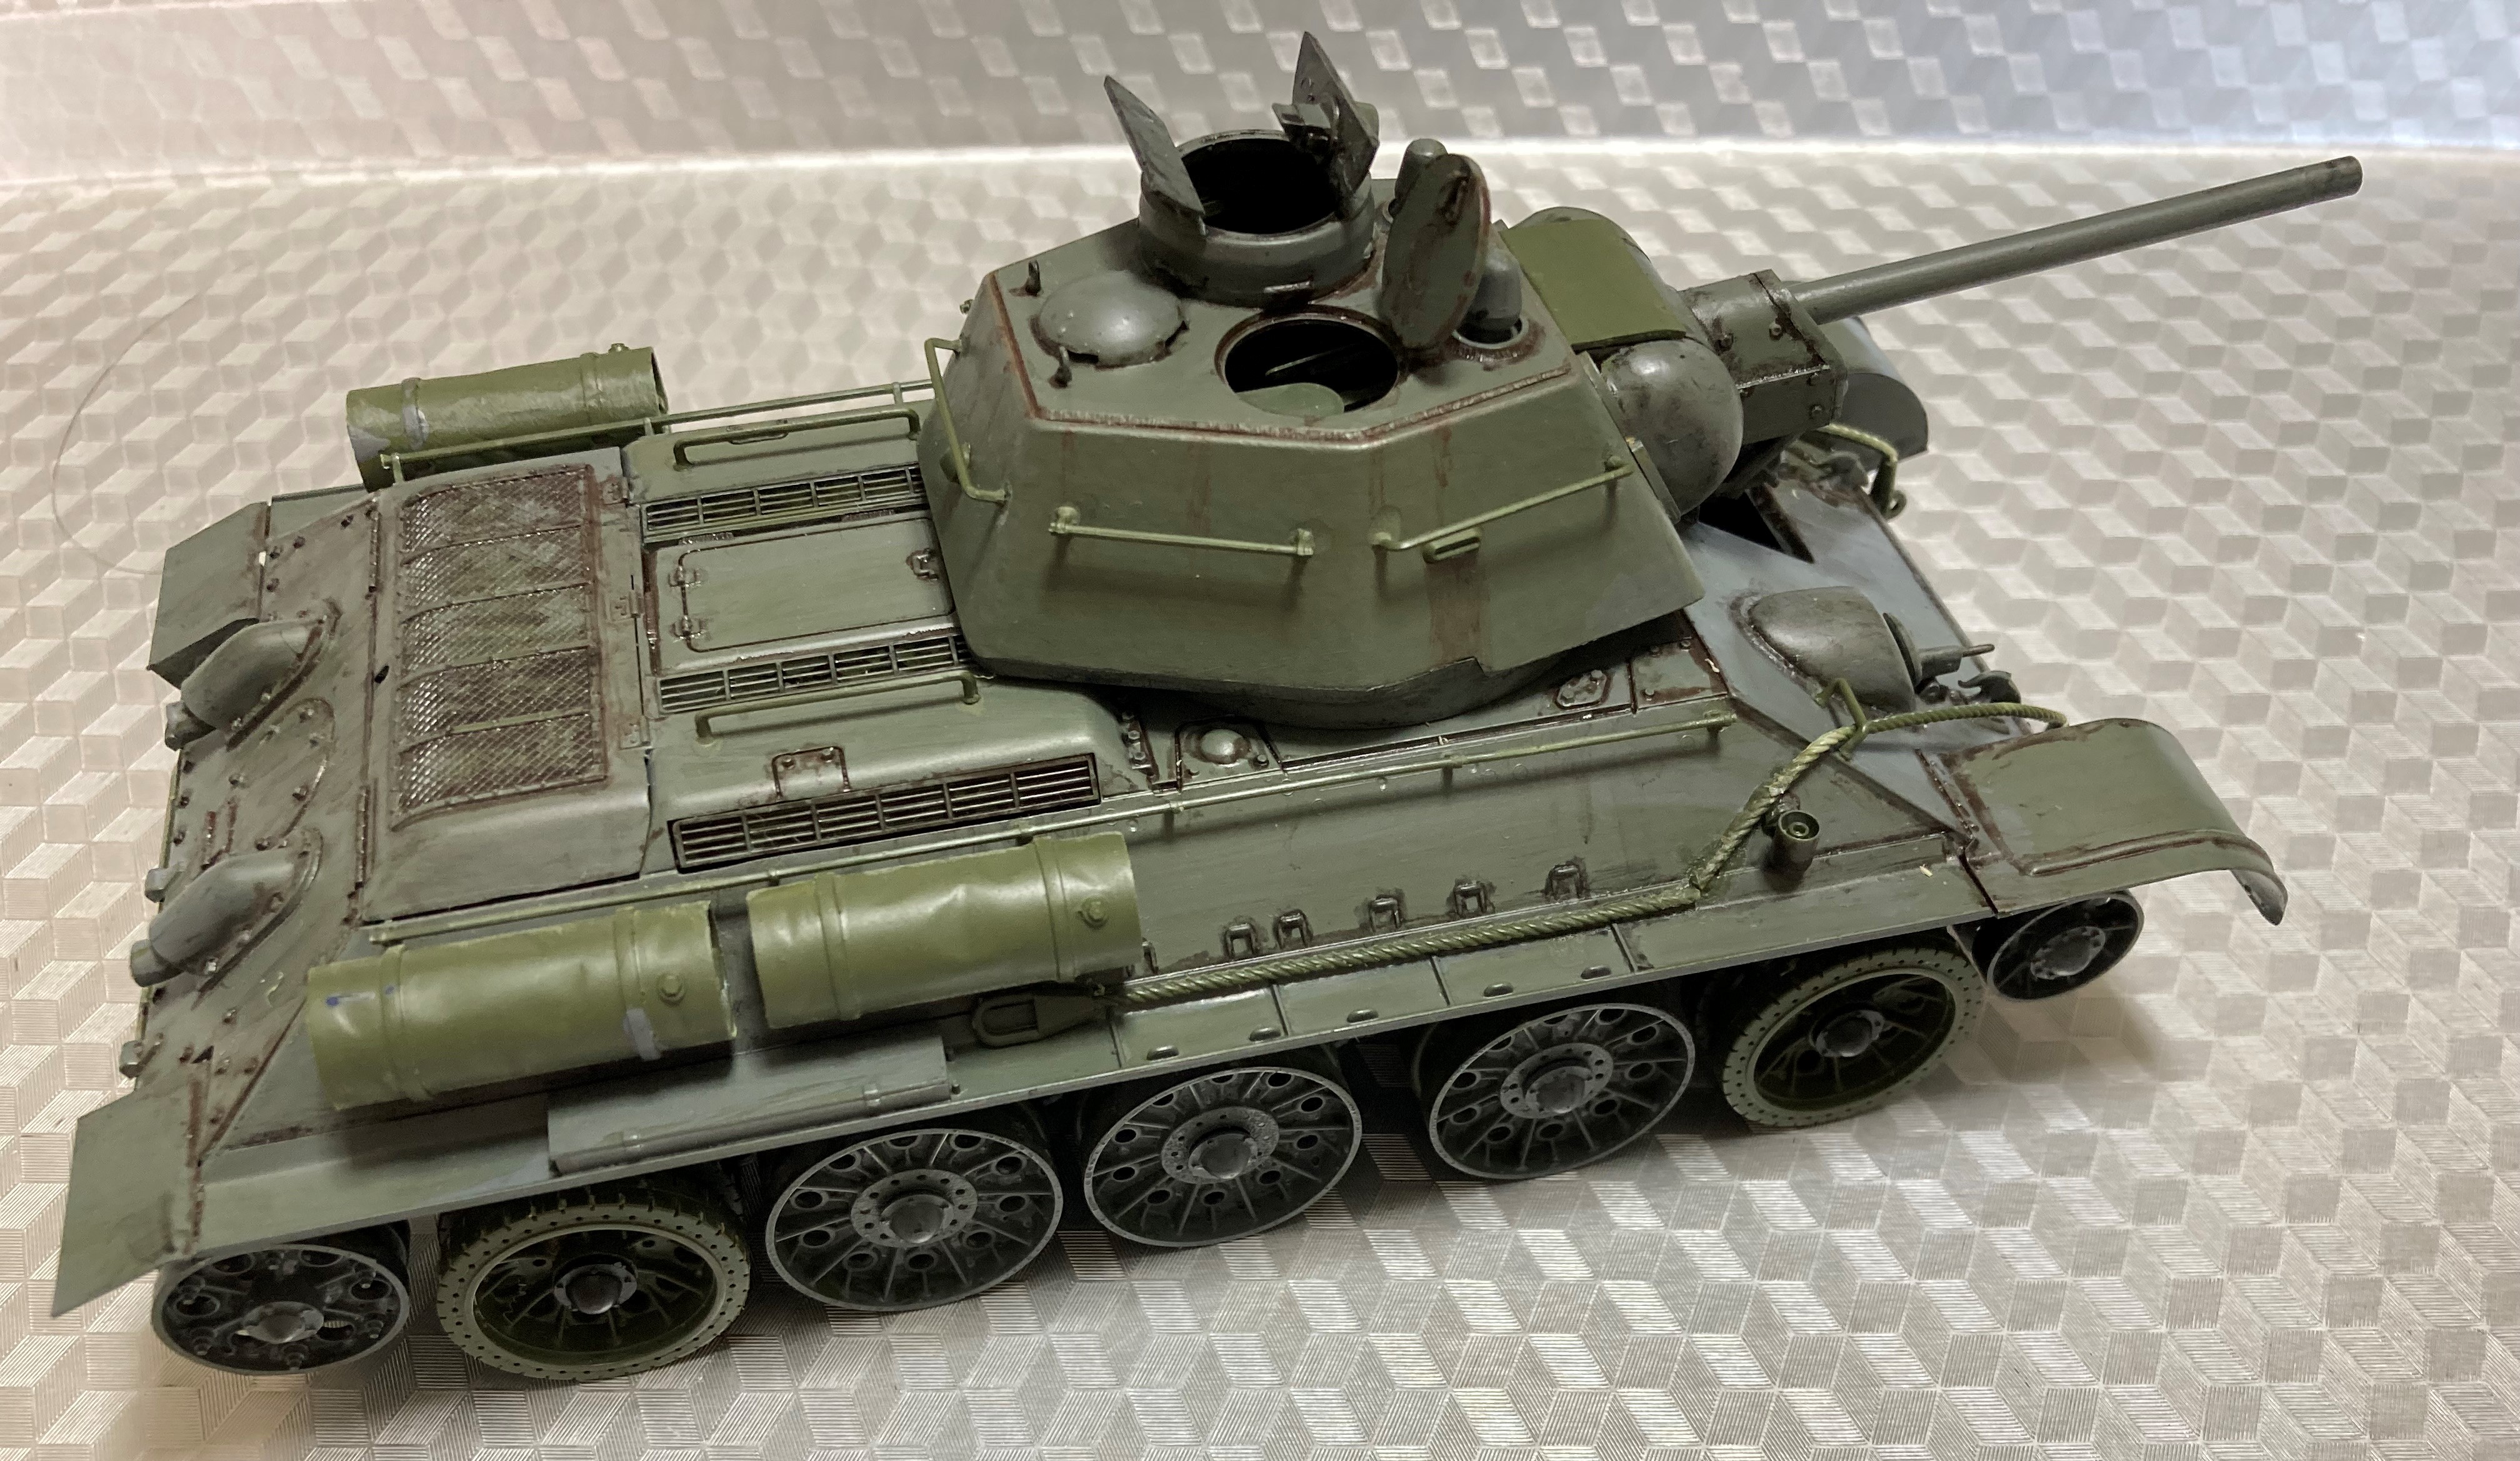
There we go. Completed wheels.


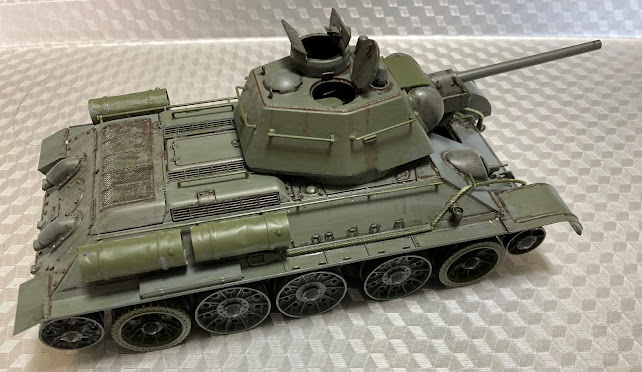
The T-34 was powered by a Model V-2-34 38.8 L V12 Diesel engine of 500 hp (370 kW), giving a top speed of 53 km/h (33 mph). It used the coil-spring Christie suspension of the earlier BT-series tanks, using a "slack track" tread system with a rear-mounted drive sprocket and no system of return rollers for the upper run of track, but dispensed with the heavy and ineffective convertible drive.

 T-34 tanks equipped with the 4-speed gearbox could only use 4th gear on road, being limited to 3rd on terrain. In the first batch of T-34s, shifting from 2nd to 3rd required a force of 46-112 kg. In 

September 1941, however, changes were made which lowered the effort to under 31 kg by changing the 3rd gear ratio, which lowered top speed in 3rd gear from 29 km/h to 25 km/h, but made shifting easier. Using the 5-speed gearbox allowed the T-34 to use 4th gear on terrain, with which it could reach 30 km/h. 


Now we need a hull...


These Tamiya kits always go together smoothly. A kit from before the turn of the century would always make a good beginner's model. Just a little note that because of the time of day, the colouring looks different in  these shots.

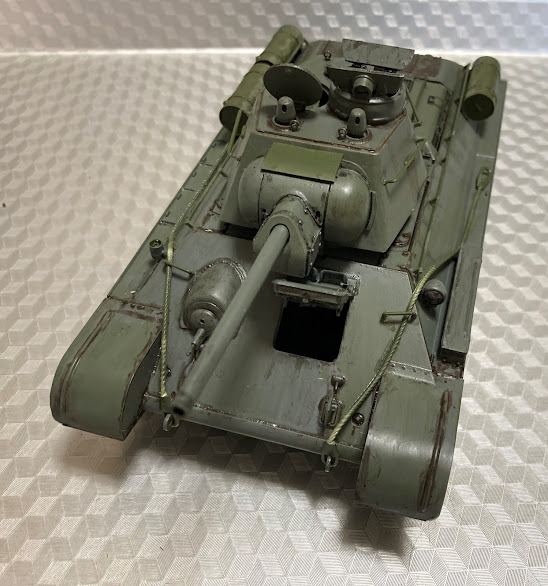
The T-34 had well-sloped armour, a relatively powerful engine and wide tracks. The initial T-34 version had a powerful 76.2 mm gun, and is often called the T-34/76 (originally a World War II German designation, never used by the Red Army). In 1944, a second major version began production, the T-34-85, with a larger 85 mm gun intended to deal with newer German tanks.

A tank is no good without a gun...


...and a turret to hold the gun...

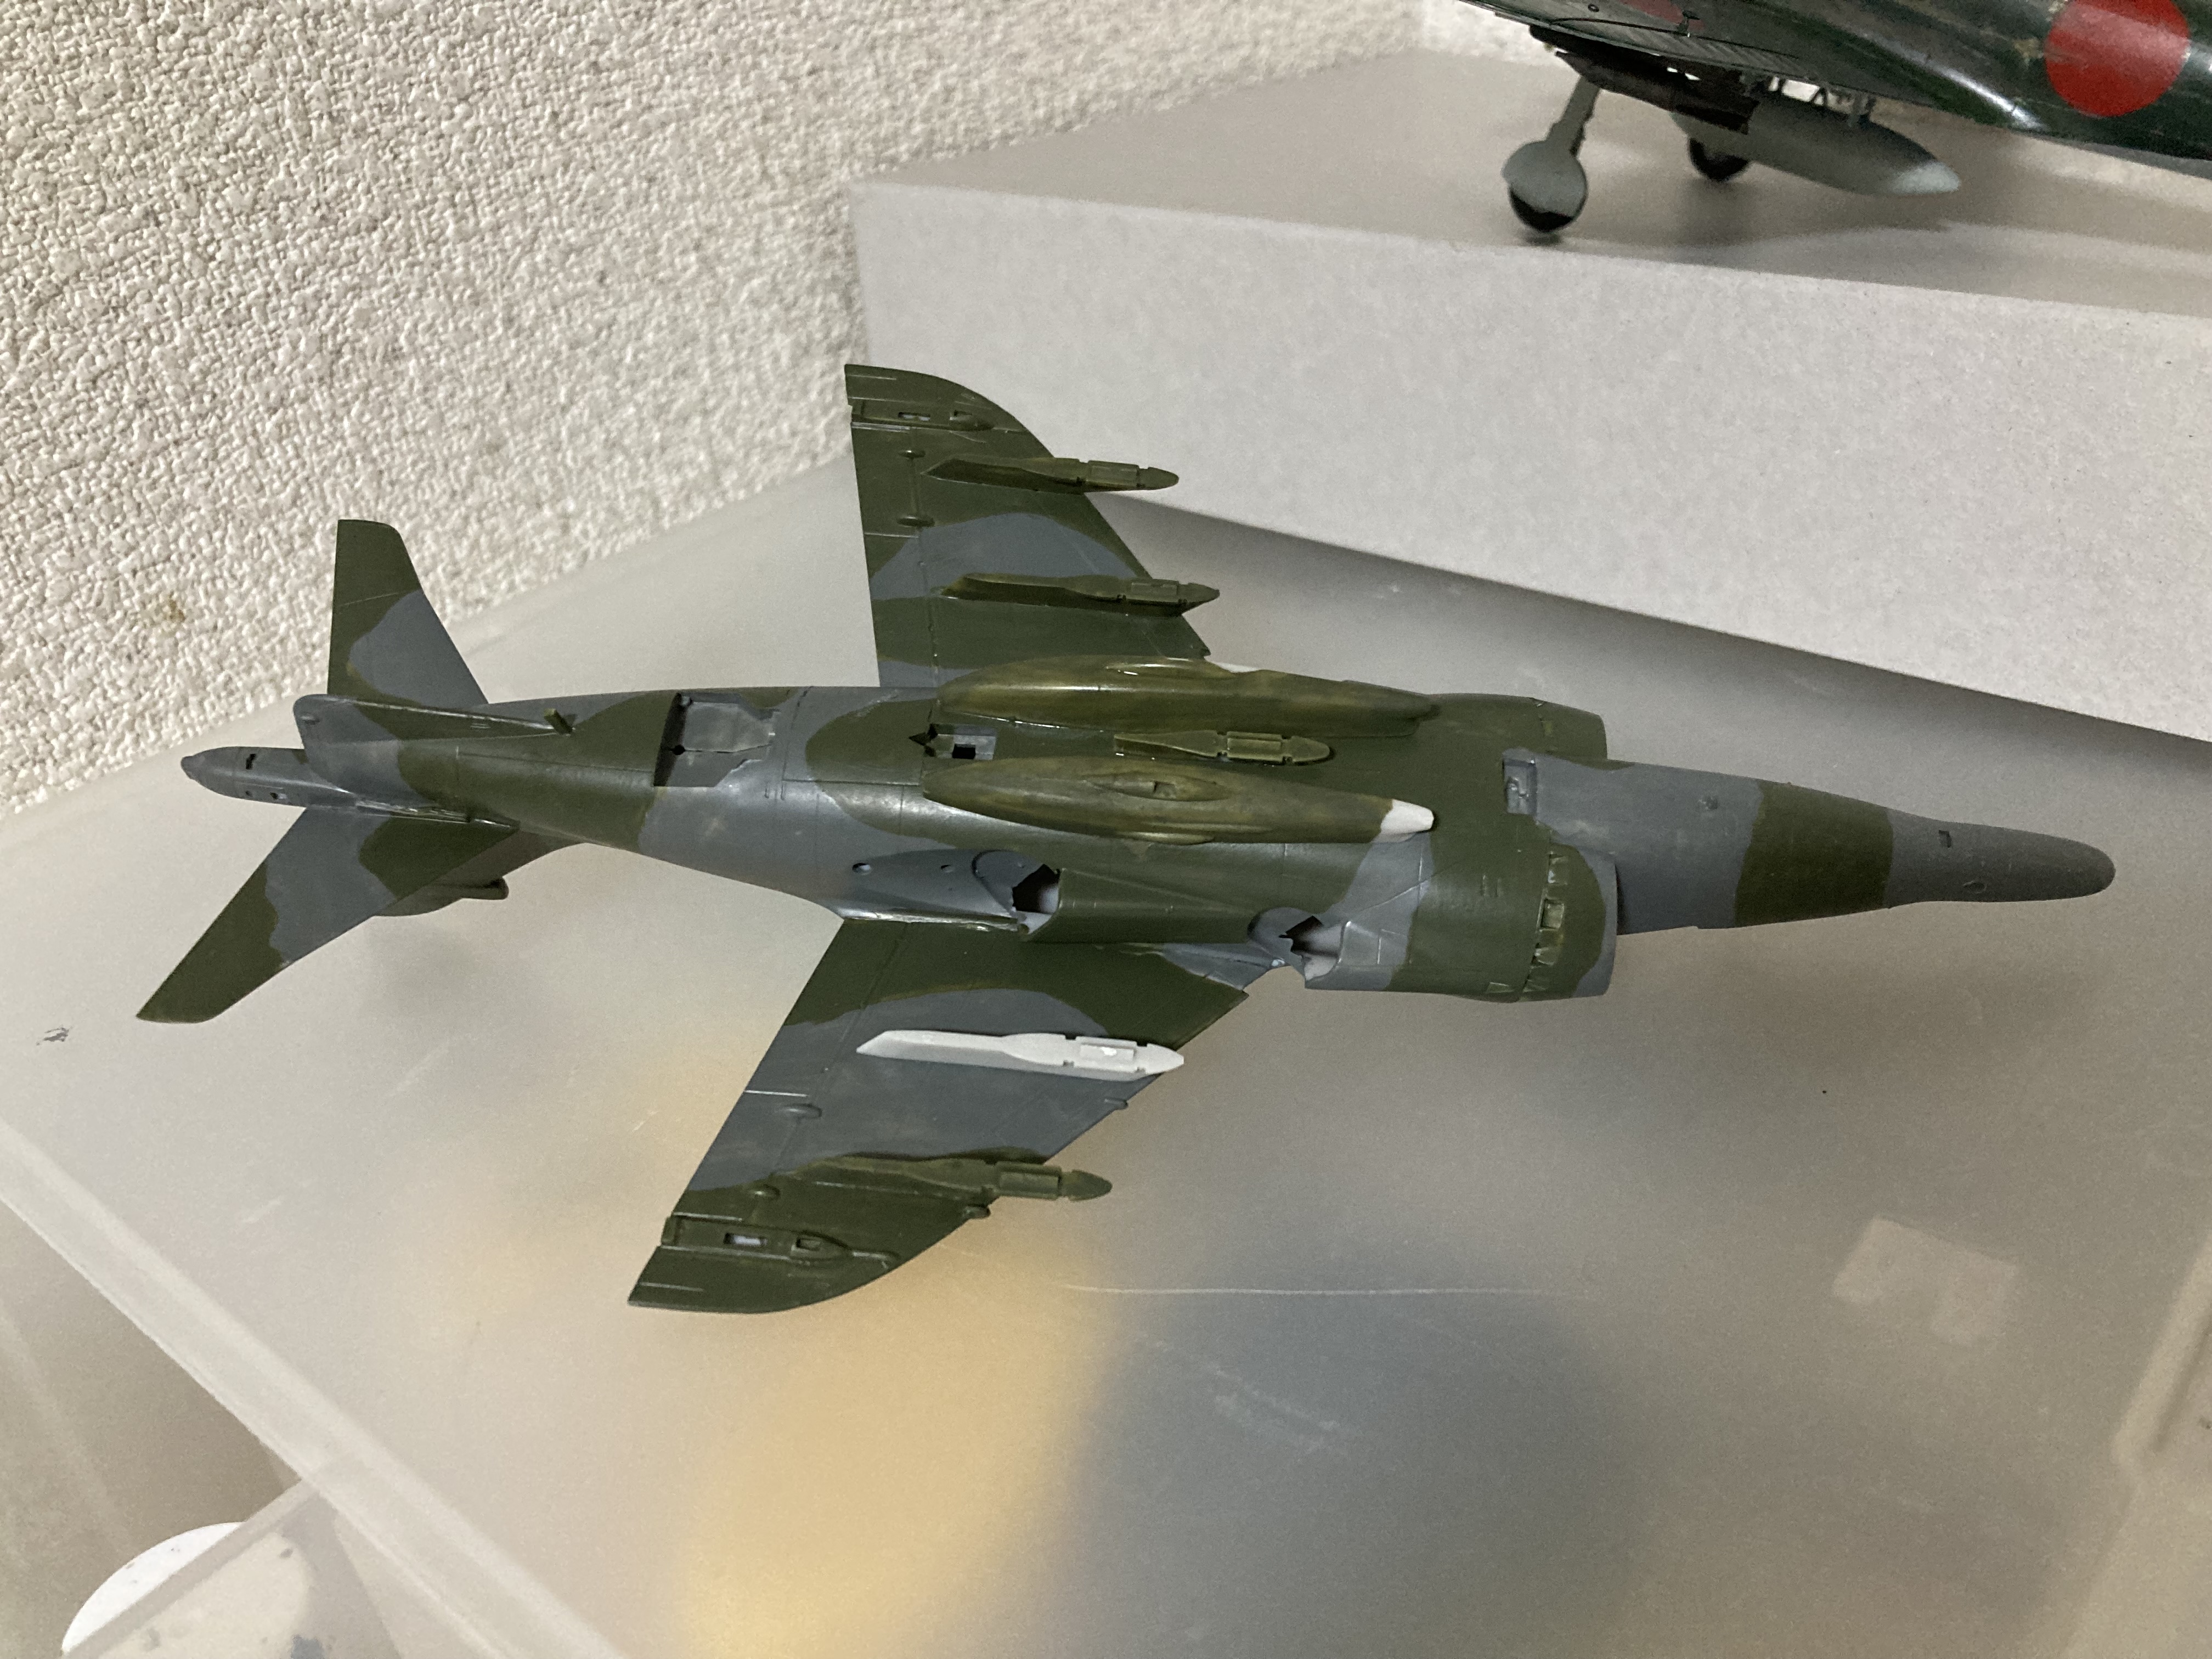
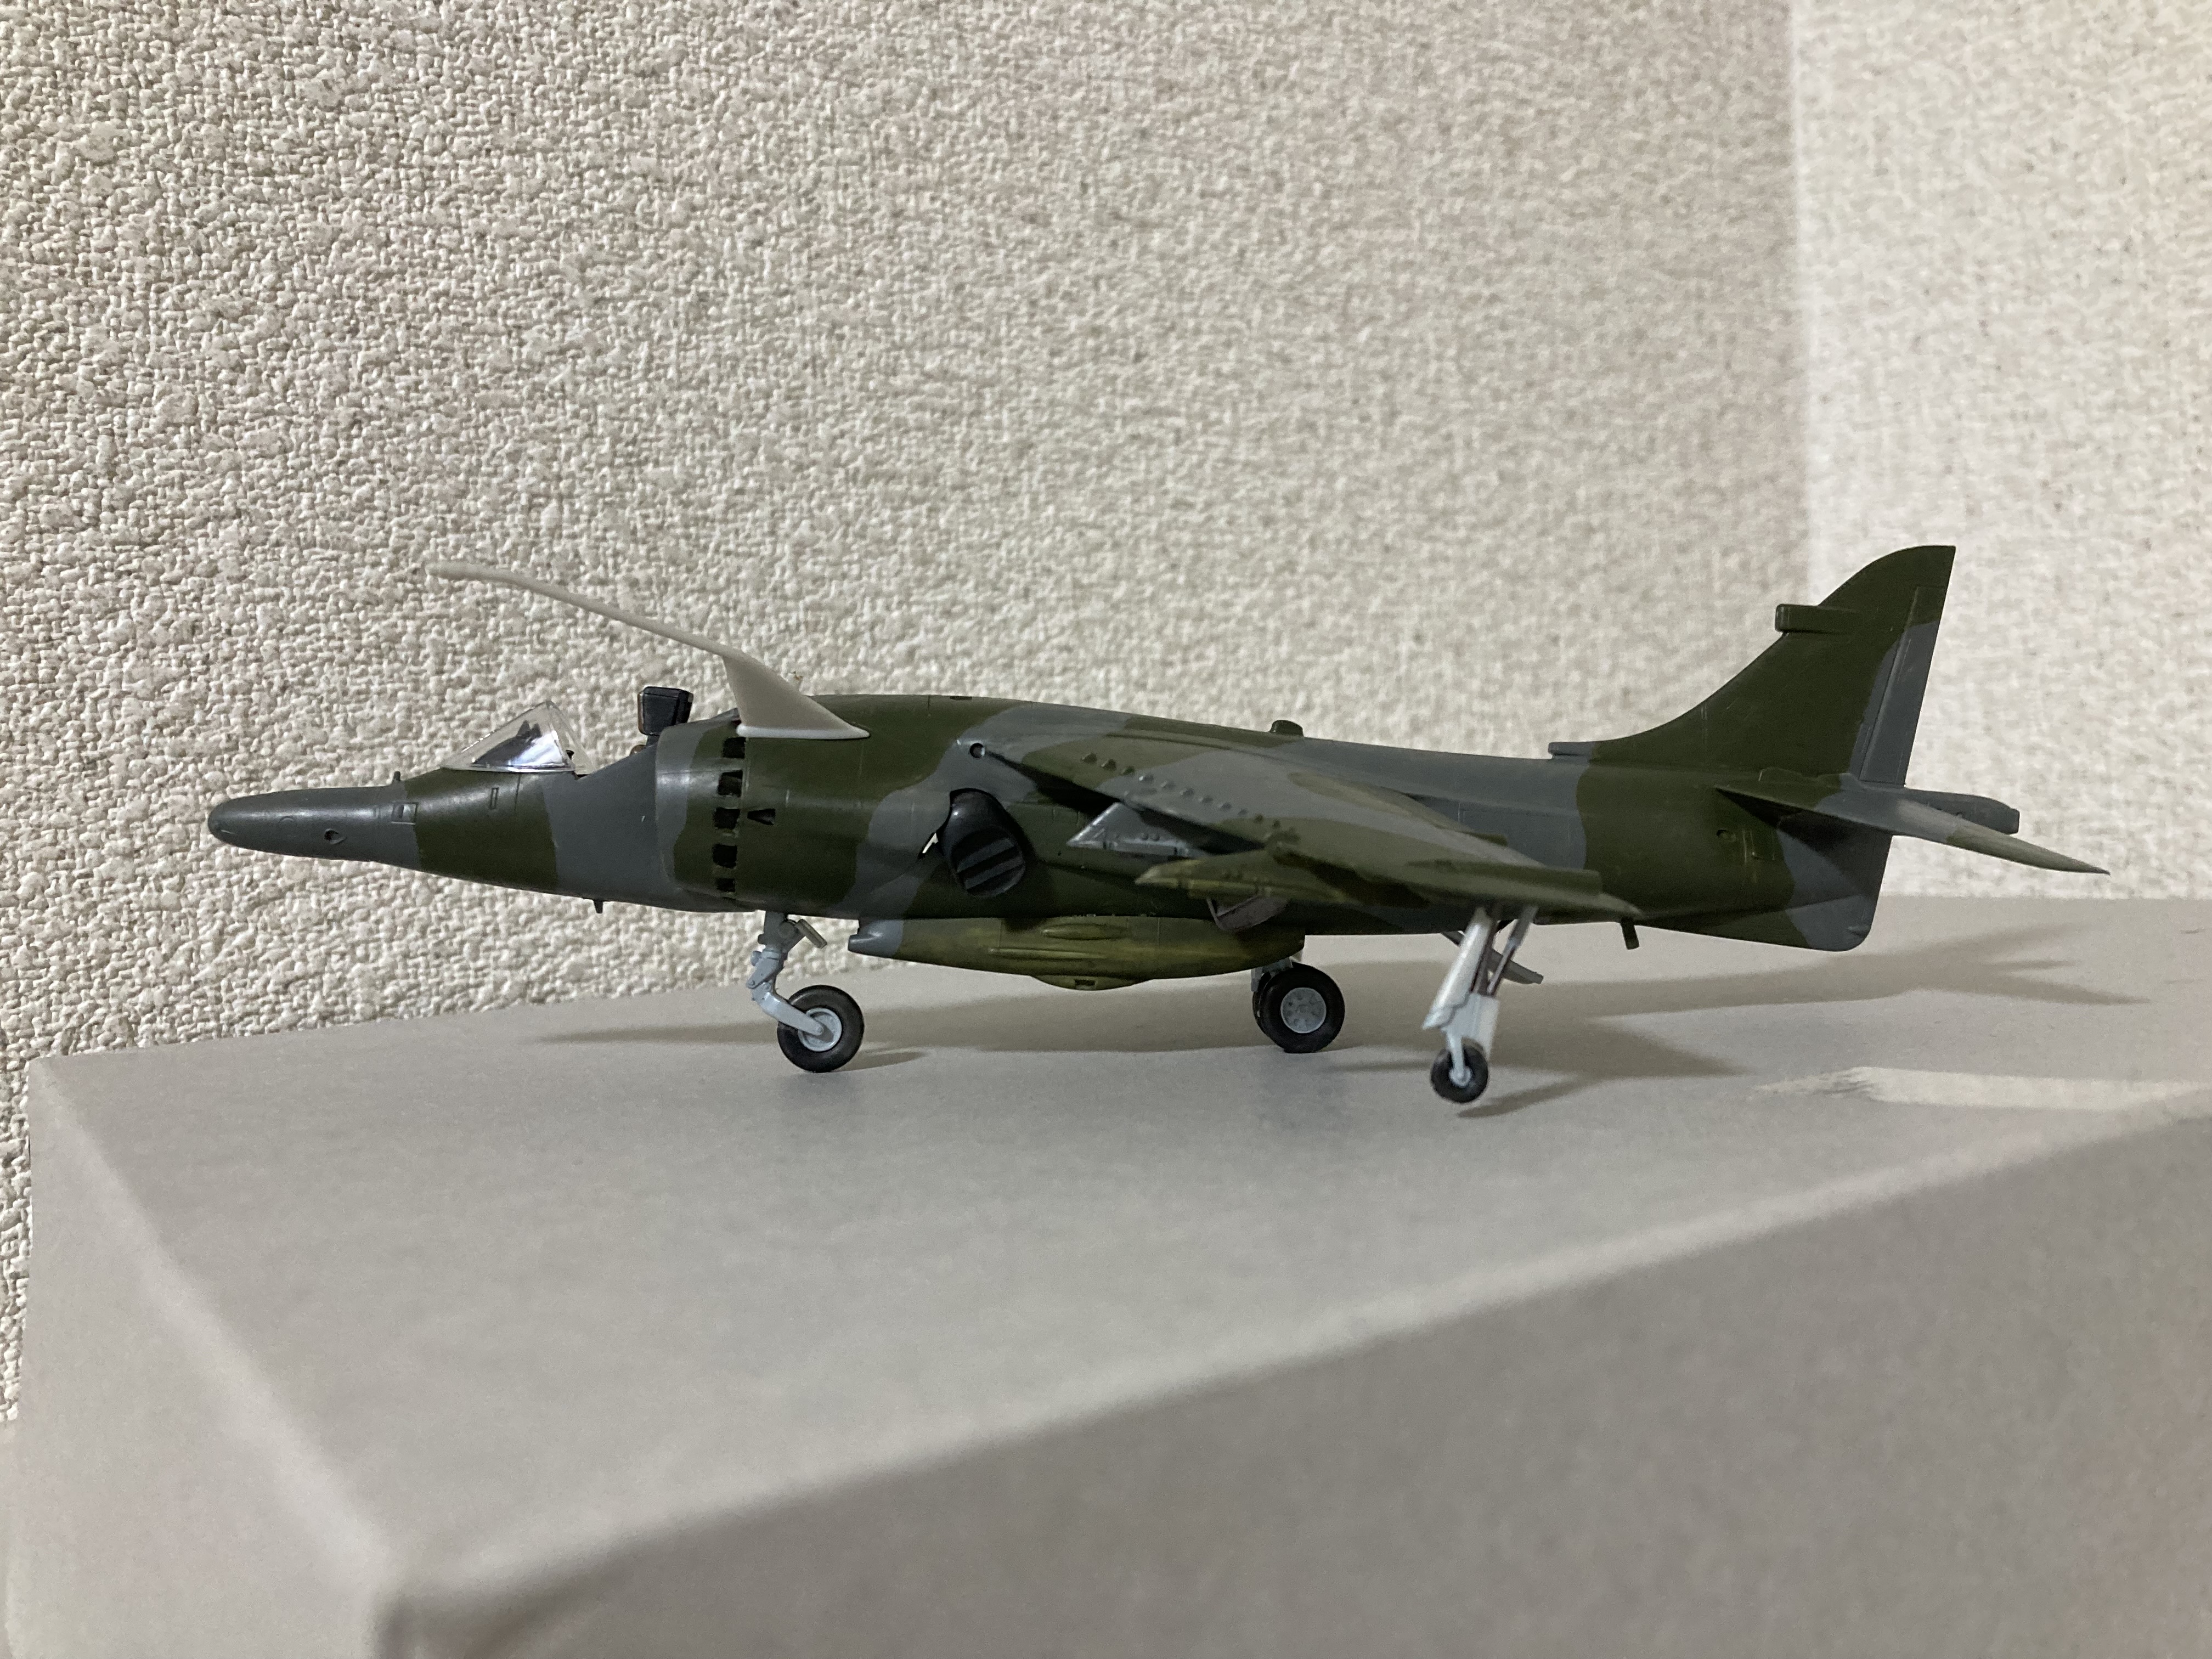
I don't feel the need to adapt the model. But there is scope for better modelers than I. 


Weathering the  hull. Just different shades of dark green and black...


Now we are getting somewhere...


Let's have a look around the model so far.


Adding the crew and the other accessories.


The T-34-76's ground pressure was around 0.72 kg/cm². Its wide tracks allowed for superior performance on dirt roads and off-road when compared to contemporary tanks. There were, however, still examples of T-34s getting stuck in mud. For example, in 1944 February 4, the 21st Guards Tank Brigade with 32 T-34, was ordered to proceed by road to Tolstoye Rogi, a journey of approximately 80 kilometers. Of the 32 tanks, no less than 19 got stuck in the mud or suffered mechanical breakdowns.

So, here we have our finished model. Notice the naughty cross recognition flag to prevent German planes mistakingly attacking the German Russian


Over all, a satisfying model. I think it is almost impossible to go wrong with it. I'm sure there is a lot of room for improvement if you are of the mind.


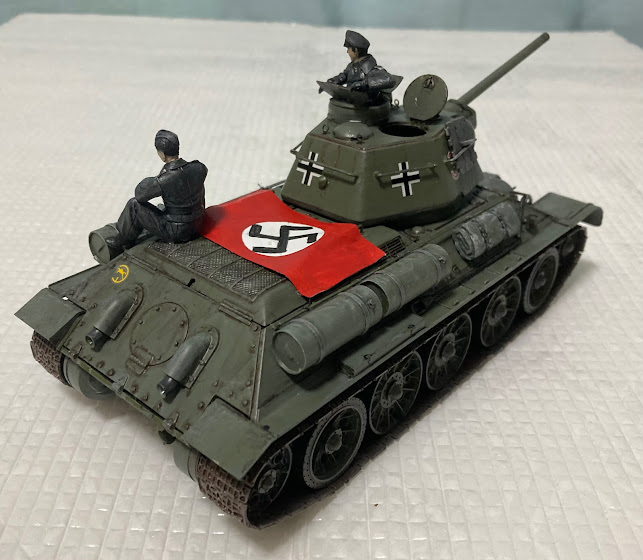
It looks like a T-34 though?

So, back to the group build. The Germans have successfully invaded Malta and are having a well deserved break . They seem to have come across a deserted 25pdr.


A messenger has arrived with the latest instructions...These beech chairs need towels immediately ...


Righ, I:m off now to conquer another island...


See you in the next one...


I love the Harrier... Here we go again. Hasegawa GR Mark 3 in 1/72.


I love the Harrier... Here we go again. Hasegawa GR Mark 3 in 1/72.
There's just something special about the various forms of the Harrier. I can't resist building it when the opportunity arises.
Let's have a look at the Hasegawa GR Mark 3 in 1/72.
Looks cool immediately with the box art. It's not hurt by the wrap round camo which I think is cool too. (Just in case we want to attack upside down...)

It's a Harrier, look! The box says so.


An image of the model is found on the second long side.


The usual purchasing information on the end panels.


Stealth Harrier...


Ok. Let's go.


A box full of goodies.

A big bag of goodies...


Let's have a look inside.

It's a goodie for the money. I suspect the  large sprue contains the standard parts.

This looks like the model specific parts.

Nice looking decals.


There is an English information section in the instructions but it is on the small side.

Pilot first.

Prepainting  internal details as always.


Trimming decals before applying them.

A dip in warm water to soften the decals.


Building the fuselage... It will need a little cleaning up.


The vents hang down in a stationary setting.

I'll cut them out to look like they are open.

It gives the sense I think...

Cammo time...


Preparing the underwing stores...

Something to hang the biombs on...


Undercarriage next.


Nearly done.

Touching up the paintwork.

Panel lines and weathering.


Don't forget the decals...

Ladies and Gentleman. The Harrier.